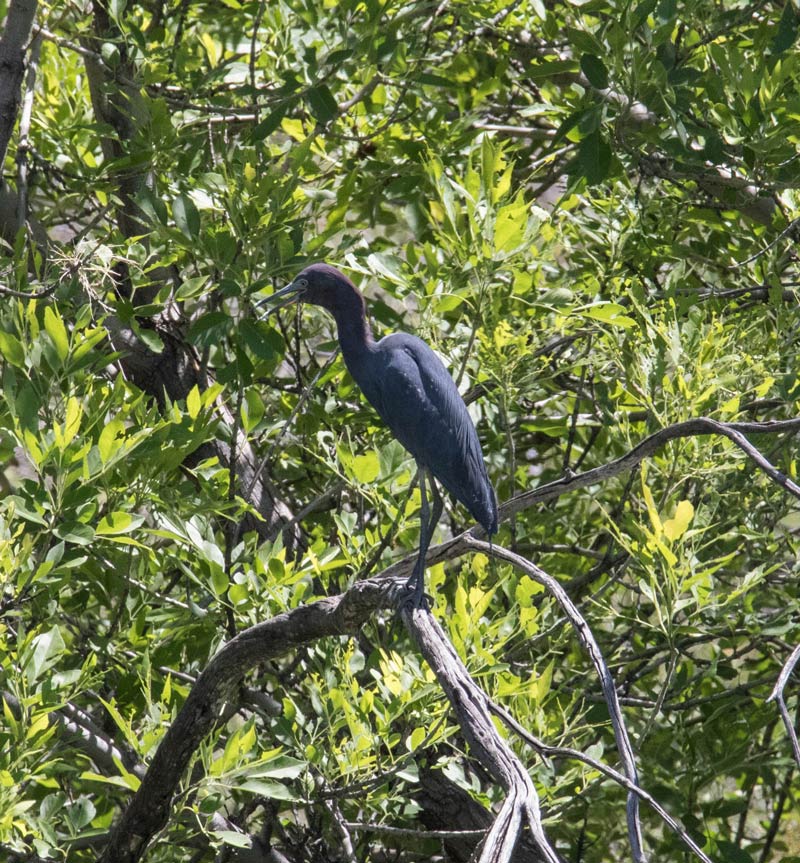
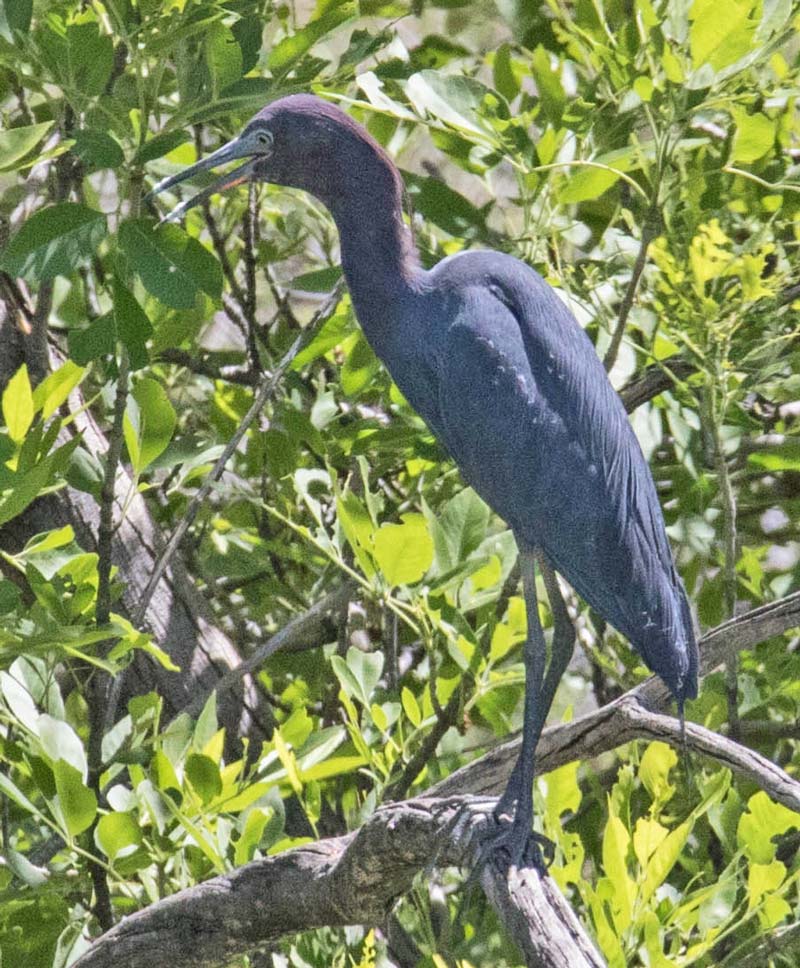
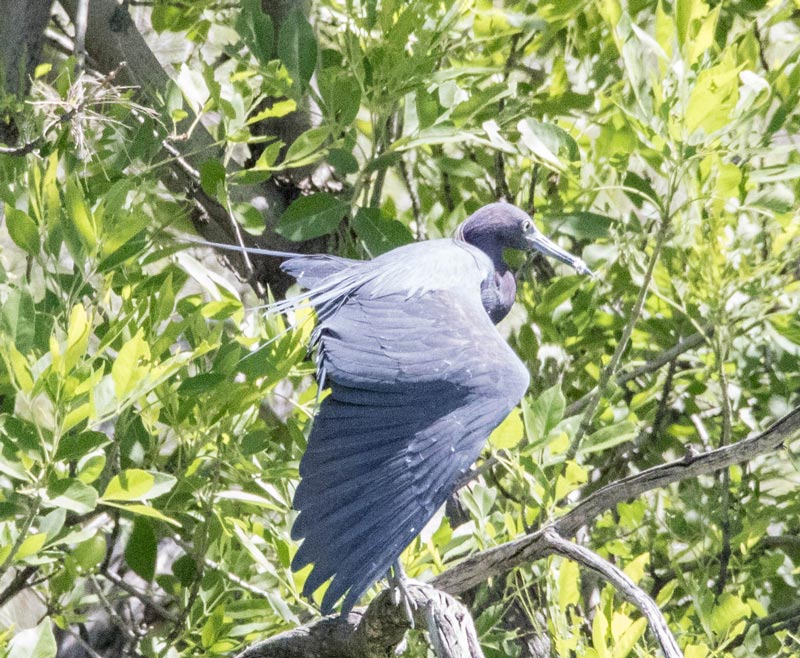
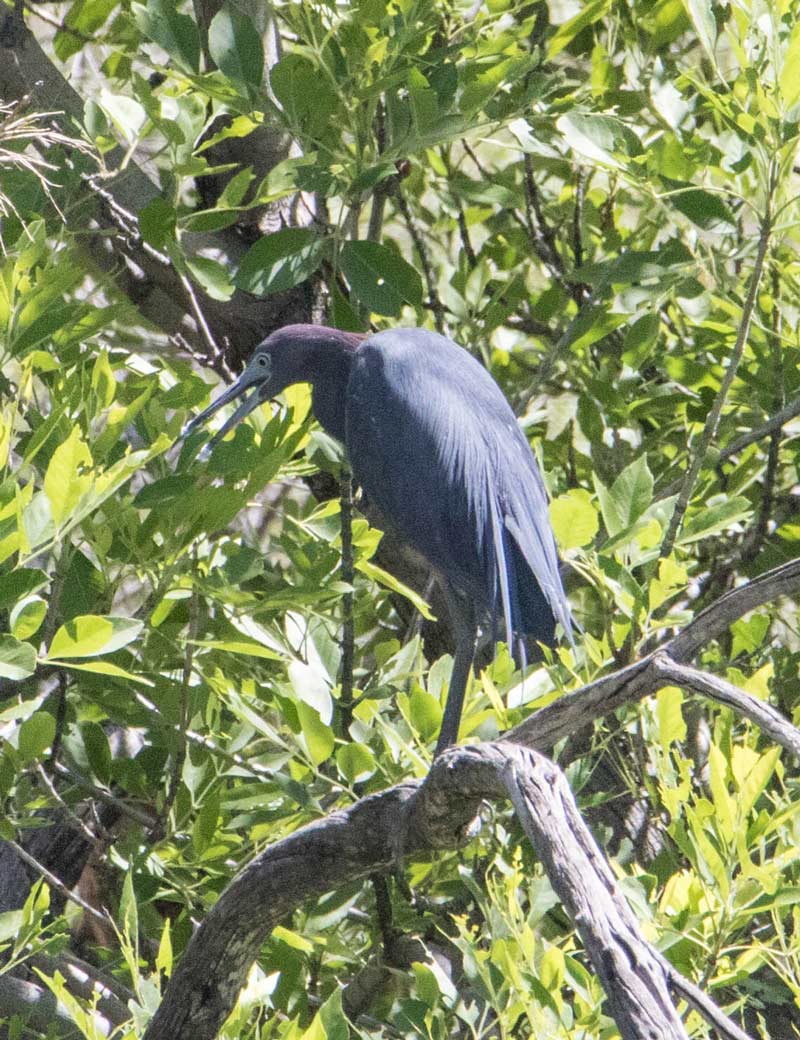
Rec. # 2019-09
Little Blue Heron
|
Series 1 | Series 2 |
Note: Photos* A - C by Terry Reid
 |
Photo A |
 |
Photo A1 |
Photo A, cropped and shadows lightened
|
 |
Photo B |
 |
Photo C |
|
* The original photo files, being too
large for our format, have been reduced in size. (originals are
available)
|
|
|
|
|
|